
Map the connection from microphone to stream
Read USB and XLR connections as parts of a complete route, with the exact device and application in view.
3 min read
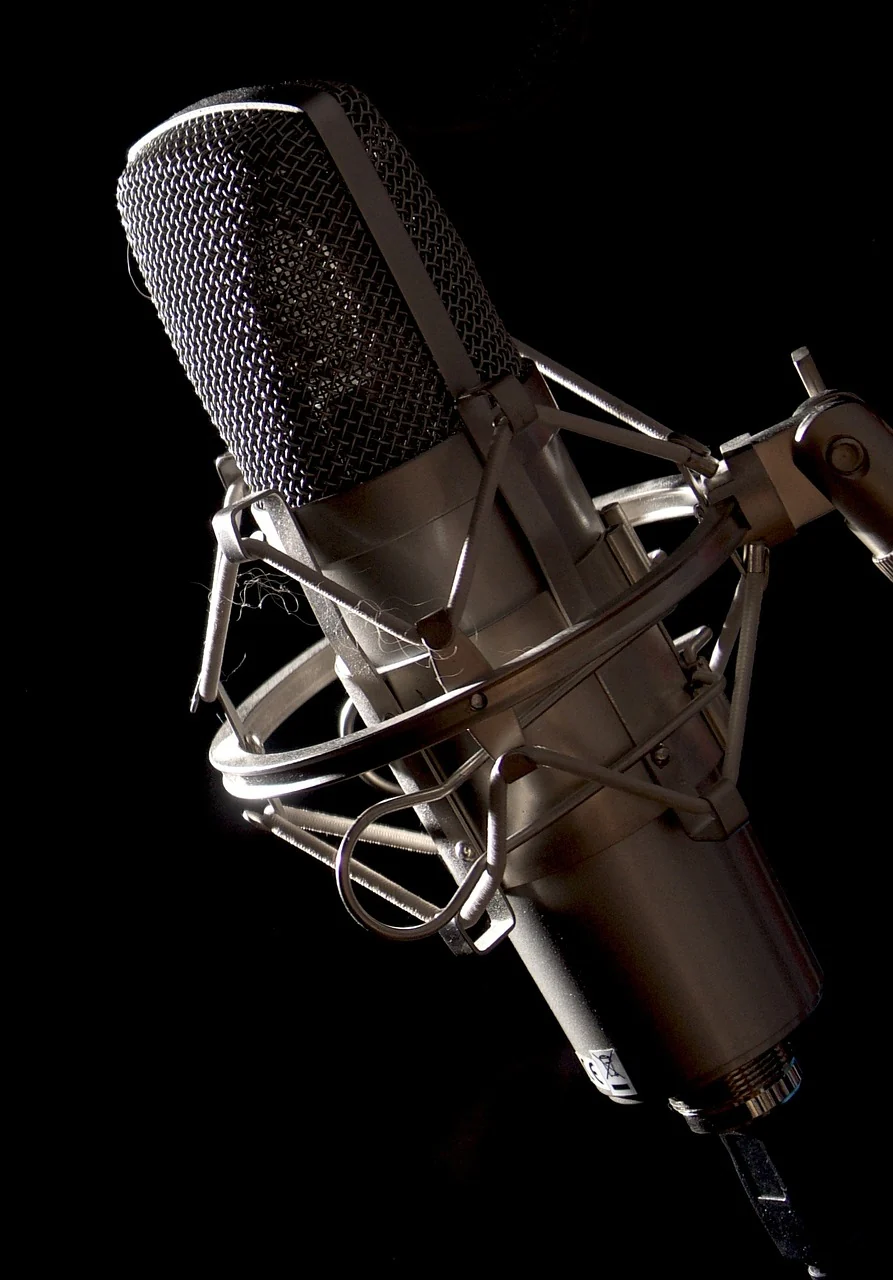
USB and XLR are useful labels when choosing a microphone, but a connection plan needs more than the label on the socket. Start with the device that will receive your sound and work backwards to the microphone. Write down every component between them. A clear map makes it easier to compare equipment, read the right manual and recognise which part needs attention when a source is missing.
Draw the whole route
Focusrite’s hardware introduction describes the external audio interface as a link between audio equipment and a computer. In a typical interface-based plan, the microphone connection and the interface’s computer connection are separate parts to check. Record both, along with the actual computer and software you intend to use.
For a USB microphone, read the maker’s supported-device and cable information for that exact model. Do the same for an XLR microphone and the receiving equipment. A connector that appears to fit is not the whole compatibility check. Keep questions about required power, adapters and supported operating systems with the relevant manuals rather than treating them as accessories to decide later.
Read each output on its own terms
Some microphones provide more than one connection. Audio-Technica’s ATR2100x-USB quick start describes USB for digital use and XLR for analogue use on that specific microphone. It also identifies an optional headphone connection. Use the guide as an example of the separate information to look for, rather than assuming another model behaves the same way.
Check which controls and features apply to the connection you intend to use. If the documentation discusses software processing, a headphone mix or a mute control, establish which output it affects. Keep an unanswered point as a question for the manufacturer. You will make a clearer decision with one understood route than with several possible connections whose behaviour you have not yet checked.
Separate input controls from listening controls
An input control and a headphone-volume control have different jobs. The Scarlett Solo 4th Gen hardware guide lists microphone input gain, headphone level and direct monitoring as separate controls on that interface. Your own device may arrange them differently, so label the control you are about to use before changing it.
Note where your headphones are connected and what you intend to hear there. Then plan a separate check of the application and a saved recording. This is particularly useful when several devices can provide playback. A familiar sound in your headphones does not by itself identify the source that a particular application has selected.
Name the software source clearly
Once the physical route is understood, inspect the application’s device selection. In OBS, the official audio-source guide distinguishes scene-specific capture from global audio selection and warns about using both for the same device. Use the approach appropriate to your programme and current platform instructions, then name the source so its purpose is obvious.
Include transitions in the check. Move through the scenes or applications your programme uses and verify the intended behaviour. If another microphone is built into the computer or camera, make sure your notes identify the source you actually want. You are checking a complete arrangement, so keep the device names and application selections together.
Keep a connection note you can reuse
Save a compact map with the exact model names, connection route, manual links and any setting that matters to your routine. Photograph the physical arrangement for your own reference if that helps. When you change a component, update the map before making several other adjustments. It gives you a useful starting point when the setup must be rebuilt.
Finish by recording a short example of your normal programme and listening to the file. The listening checklist provides a repeatable sequence, while the placement guide helps make the physical position practical. Once the route is understood, you can focus on the content of the stream instead of repeatedly guessing which part of the chain you are hearing.