
Give the microphone a workable place
Plan the desk, orientation and ordinary movements, then compare a short rehearsal in your actual room.
4 min read
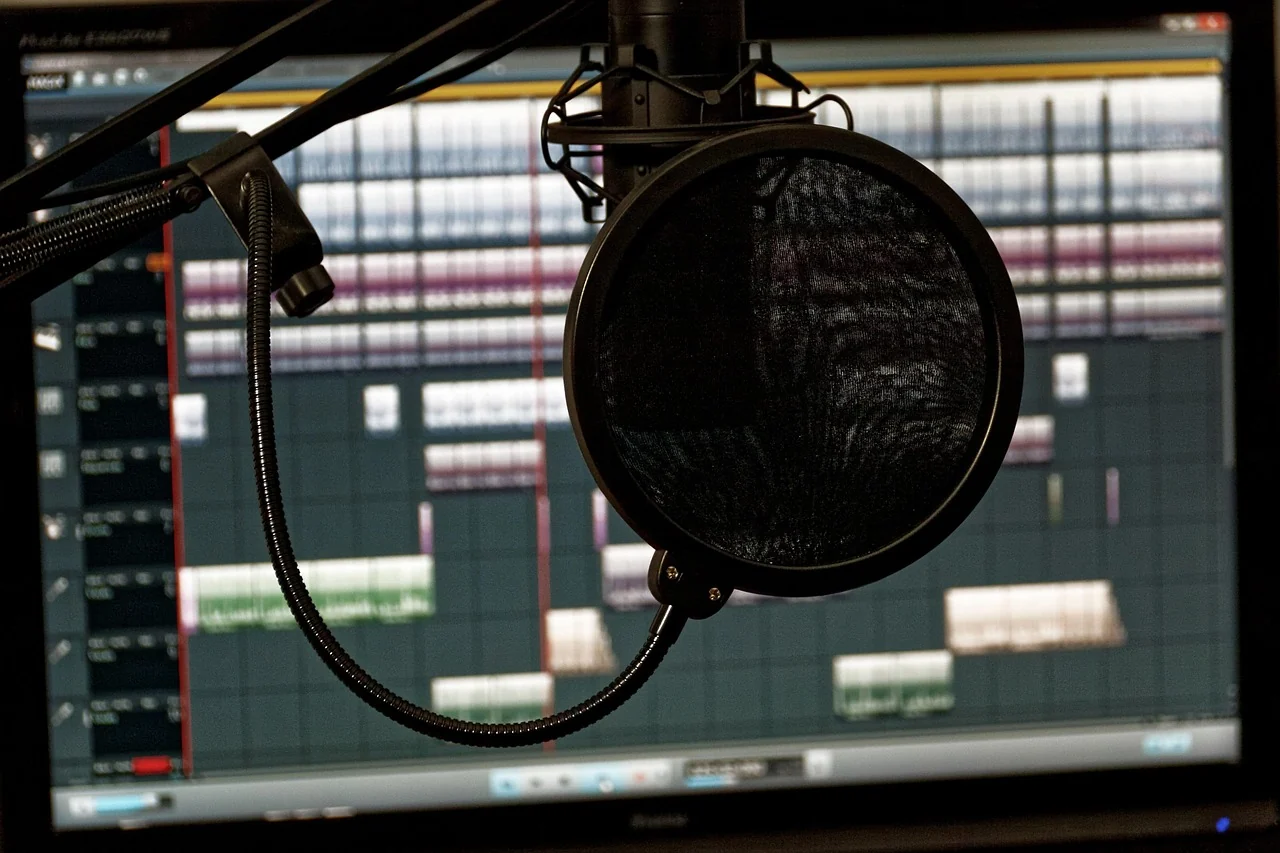
The desk and room are part of a microphone setup. A useful position lets you speak, see the screen and carry out the ordinary actions of your programme without constantly rearranging equipment. Start with the space you have. Sketch the main objects, listen to the room and try a short rehearsal before deciding whether you need another stand or accessory.
Listen at the time you plan to stream
RØDE’s recording-location guidance draws attention to surrounding noise and room reflections. Use that as a prompt to listen to your actual space: the computer, nearby activity and sounds from elsewhere in the building may all be relevant. Note what you can hear rather than assuming the room behaves the same way throughout the day.
Make a short recording in the arrangement you already have, including a pause as well as speech. Keep a note of the time and room conditions. If you try another position, compare it using the same short programme. This gives you an observation to discuss or investigate instead of starting with a shopping list of acoustic accessories.
Find the intended speaking side
Use the exact microphone manual to establish its orientation. End-address and side-address designs are not positioned in the same way relative to the speaker. Look for the maker’s diagram and relevant placement guidance, then check the actual product in front of you. A familiar-looking grille or a photograph of someone else’s equipment can leave this important detail ambiguous.
Set up from the position in which you will present. Include the screen, camera and notes, and check whether you naturally turn away to use them. Try ordinary movements rather than an exaggerated test pose. If the arrangement makes you repeatedly reach around the microphone or move it out of the way, reconsider the desk layout before adding more adjustments.
Make the mount part of the decision
Read the stand or arm’s compatibility, mounting and load instructions for the equipment you plan to use. Consider where it attaches, the space it occupies and how it moves through the desk area. Keep the maker’s requirements with your plan. An appealing photograph of a mounted microphone does not establish that the same mounting arrangement is suitable for your furniture.
Arrange cables so normal desk movements do not pull on the equipment. Think through using the keyboard, reaching a control and leaving the desk. If the space is shared, include how you will store the setup afterward. A position you can rebuild predictably may be more useful than a complicated arrangement that works only while everything remains untouched.
Rehearse the picture and the sound together
Open the programme view you expect to use and check the composition. Decide whether the microphone belongs in the picture and whether any part obstructs the material you need to show. Keep the visual decision alongside the listening check. You may find a better arrangement by moving the screen or notes rather than changing the microphone position alone.
Record normal speech, a pause and the actions that recur during the session. Listen to that file and write down a specific question for the next test. If you change the position, keep other meaningful settings the same where practical. A clear comparison helps you understand the arrangement without relying on the impression left by a brief live monitor.
Leave a workable routine behind
Once you find a useful position, keep a simple reference photograph or sketch for yourself. Include the orientation and the relationship to the screen and notes. The aim is not to lock the room into one permanent layout; it is to make the next setup less uncertain. Recheck it when a device, furniture arrangement or programme format changes.
Use the microphone-choice guide to connect these observations with your shortlist, and the pre-stream check for the final rehearsal. Keep equipment questions with the exact maker’s documentation. A considered room plan should make presenting easier and leave you with a repeatable way to assess what the microphone is capturing.