
Choose a microphone around the stream you want to make
Bring the programme, connection, workspace and listening check into one considered microphone choice.
11 min read
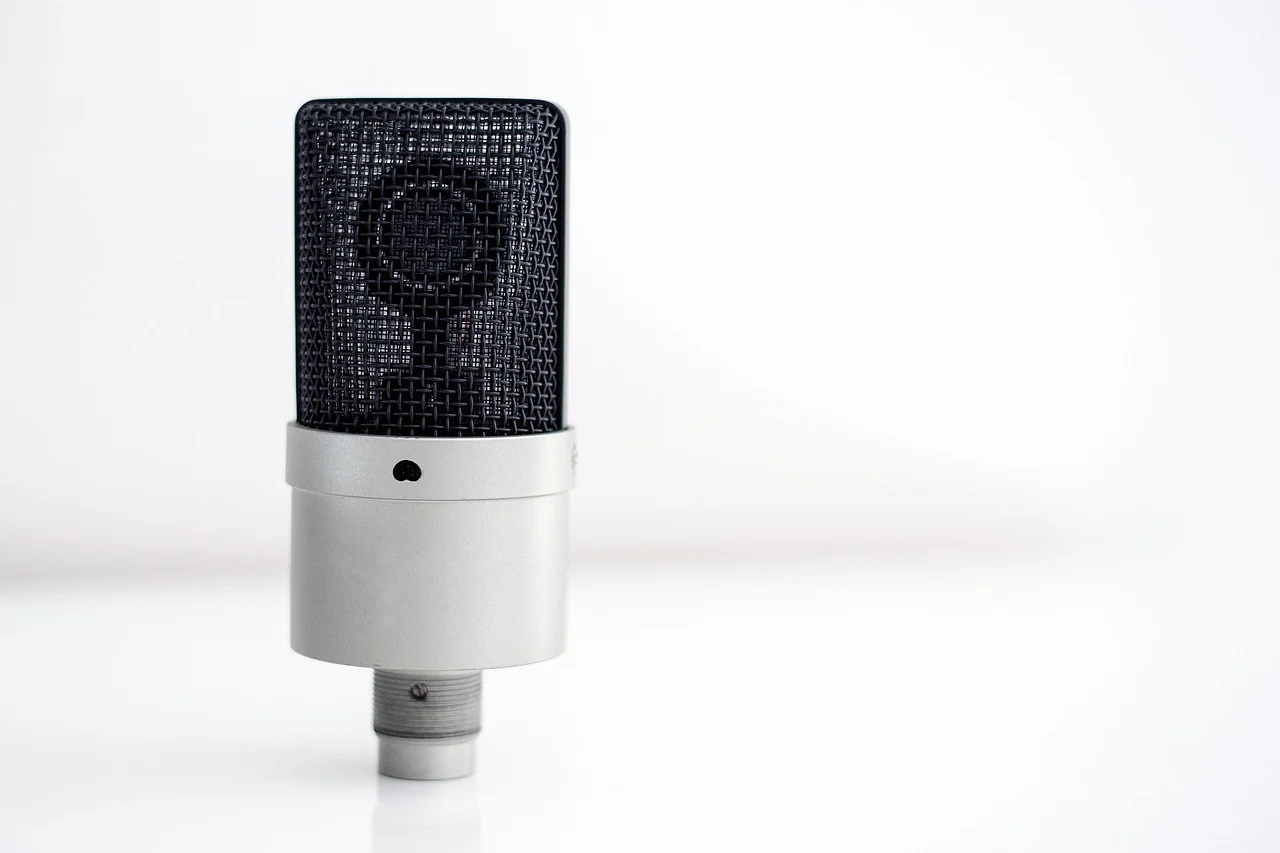
A microphone choice becomes easier when it starts with an ordinary stream rather than a wall of product specifications. Picture the programme you want to make: where you sit, what appears on screen, which other sounds belong in the programme and how much equipment you want to manage. Those details give a microphone a job. They also make the surrounding decisions, from a stand to an audio input, easier to compare.
Begin with a short description of that job. You might be talking through a game, presenting a demonstration, teaching from a desk or sharing a conversation with a remote guest. Keep the description concrete enough to rehearse. A microphone that fits the way you work is more useful than a feature list that leaves you uncertain about what to connect, where to put it or how to check the result.
Describe the programme before the equipment
Write down who will speak and where each person will be. A single person at a computer, two people sharing a room and a remote conversation are different planning situations. Include the sound sources you intend to use alongside the microphone, such as a presentation, an application or a guest call. You do not have to solve every route immediately; first make the intended programme visible.
Think about the quieter parts as well as the introduction. You may look down at notes, turn to another screen, pause to type or move an object during a demonstration. Put those ordinary actions in your test plan. A setup that works only while you hold an unusually still pose may be awkward to use through the actual session. Choose a position and routine you can return to naturally.
Separate what is essential for the next stream from what might be useful later. A second local microphone may be a real requirement, or it may be a distant possibility that is making the current decision unnecessarily complicated. Keep a future requirement on the page without allowing it to replace the immediate brief. That makes the eventual shortlist easier to explain to yourself and to anyone helping you.
Inventory the equipment you already use
List the computer, operating system, streaming application, available connections and any audio equipment you intend to keep. Record the actual model names rather than broad descriptions such as laptop or mixer. Include the headphones or other listening arrangement you will use to check the programme. This small inventory gives you something specific to compare with a manufacturer’s current compatibility and setup information.
Read what comes with the exact package under consideration. A photograph may show a stand, cable or accessory without establishing that it is included in every version. Keep the microphone, its mounting arrangement and its connection requirements together when comparing options. If you need another item to complete the setup, include it in your decision before treating the microphone itself as the whole purchase.
Keep documentation links with the inventory. A short note containing the model, manual and question you still need answered is more useful than several unrelated screenshots. For a shared or borrowed computer, establish which applications and devices you can use before building a plan around them. Your aim is a complete, understood arrangement that fits the equipment and permissions you actually have.
Choose a connection path you can explain
Draw the route from microphone to the application that will use it. Focusrite’s hardware introduction describes an audio interface as an external device linking audio equipment and the computer, and stresses matching the connections at both ends. Use that distinction to identify the components in your own plan, then check the requirements of each exact product.
The connection name is only the beginning of the comparison. Find the manufacturer’s information for your computer or device, the relevant software and the supplied or required cable. If you are considering a microphone with more than one output, read how each output works. Do not assume that a control described for one connection also changes the other, or that every feature is available in every configuration.
Keep the route simple enough to label on one page. Name the microphone, any intermediate device, the computer input and the application source. If a connection or setting is still uncertain, make it a specific question for the maker’s documentation or support. The USB and XLR planning guide helps turn connector labels into a clearer equipment map.
Read controls as separate functions
A headphone socket, a level dial and a mute button can all be useful, but their presence does not tell you the whole signal path. Read what each control affects on the actual device. For example, Audio-Technica’s ATR2100x-USB quick start identifies USB and XLR connections as well as an optional headphone output with its own volume dial. That is a model-specific arrangement to understand, not a pattern to assume elsewhere.
Ask where you will listen and what that listening point represents. Will you hear the microphone at the device, an application mix or a recording you have made? Put those checks in separate rows in your plan. If you have a mute control, include an ordinary rehearsal of how it affects the intended output. A visible indicator is helpful, but the saved or monitored result is the evidence you need.
Avoid judging a setup from the number of buttons. You may prefer a small number of clearly understood controls, or you may need several sources and a more elaborate arrangement. What matters is being able to identify the control you intend to use while presenting. Keep the manual open during initial setup, then make your own short note in the language you will recognise during a session.
Give the microphone a place at the desk
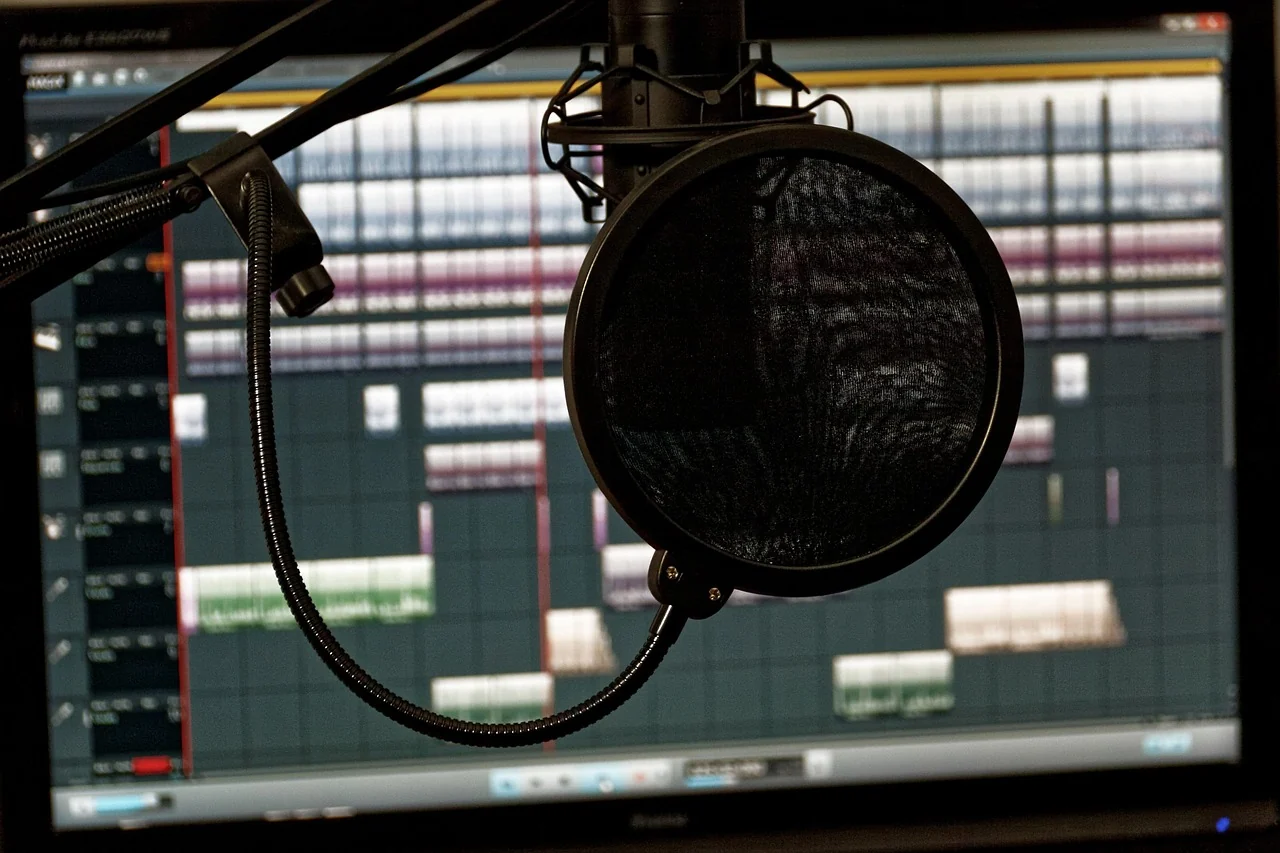
Make a rough plan of the screen, keyboard, notes, camera and microphone position. RØDE’s recording guide distinguishes end-address and side-address microphones, so use the model’s guidance to establish which part should face the speaker. A product’s shape alone is not a reliable substitute for its orientation instructions. Include the mounting arrangement when deciding whether the position suits your workspace.
Consider what the camera will see and what your hands need to reach. You might be happy with the microphone in frame, or prefer to compose the picture around a different position. Try the ordinary gestures of your programme before settling on a layout. Read the stand or arm’s compatibility and mounting instructions, and keep cables where they will not be pulled by normal desk movements.
A temporary arrangement should also be easy to rebuild. If you clear the desk between sessions, take a simple reference photograph of the working position for your own notes. Mark which parts can stay connected and which need checking again. This helps you compare the practical effort of a compact setup with one that needs more time and space, without deciding that either approach is automatically better.
Include the room in the comparison
Listen to the room at the time you expect to use it. Note the sounds that are regular, intermittent or outside your control. Think about the computer, the street, other people and the activity that continues around the desk. A quiet room at one moment may be a different place during your usual streaming hours. Keep that context beside any recording you use to compare changes.
Start with the positions already available to you. You may be able to move the desk arrangement, change where you place the microphone or choose a more suitable time. Make one practical change at a time and record what you hear. If a change creates a problem with your screen, seating or shared space, include that in the decision as well as the sound.
Set a realistic boundary for the workspace. A shared room can still support a considered setup, but it helps to agree on the routine with the people who use it. Decide where equipment will be stored and how the room returns to its other purpose. The room and placement notes provide a way to test an arrangement before committing to additional accessories.
| Part of the plan | What to record | What to check next |
|---|---|---|
| Programme | Speakers, applications and normal movements | Rehearse the actual format |
| Connection | Exact devices and the route between them | Current model and software requirements |
| Placement | Orientation, mount and desk arrangement | Manual, reach and camera view |
| Listening | Device, application and saved-file checks | Confirm which signal each check represents |
| Daily use | Setup, storage and repeatable notes | Try the routine before adding equipment |
Try the plan against two everyday situations
Imagine a desk presentation in which you speak while showing material on screen. Your first practical question might be whether the microphone position lets you read the material and reach the controls without repeatedly changing your posture. Rehearse the introduction, a screen change and a return to camera. Keep the programme modest enough that you can identify the part of the arrangement you are evaluating.
Now consider a demonstration in which your attention moves between the screen and an object on the desk. Give that movement a place in the rehearsal. Check whether the planned position remains practical when your hands and eyes are occupied. You may discover that reorganising the demonstration makes the whole session easier. Keep the sound, picture and working space in the same decision instead of solving each in isolation.
If you expect another person to join you in the room, write a separate brief for that format. Include the number of microphone inputs you intend to use, how each person will listen and where each will sit. Check the actual equipment and application documentation against those needs. A second chair at the desk can change the arrangement enough to deserve its own rehearsal rather than a quick extension of the solo setup.
Compare these situations with the programme you are most likely to make next. Keep the option that answers your real requirements in focus, and record any future format as a separate project. This gives the shortlist a useful boundary. You can explain why a feature matters now, why another can wait and which unanswered question needs attention before the setup is complete.
Build a shortlist around answered questions
Compare a small number of options using the same brief. Keep essential requirements, preferences and unresolved questions in different columns. An option may appeal visually yet leave a connection question unanswered; another may fit the practical arrangement but need a mounting accessory. The table is a way to see those differences together rather than remembering each product’s most persuasive sentence.
Read the manual as well as the product overview. Look for the requirements that affect your intended use, including supported devices, controls and mounting information. Distinguish what the manufacturer documents from what you have personally checked. If you cannot find a clear answer to an essential question, keep it open and ask before committing. The shortlist should become more understandable as you research it.
Treat online demonstrations as context for further questions. A presenter’s voice, room, settings and production choices may differ from yours. Note what the demonstration actually discloses instead of assuming it reproduces your future setup. When you can make your own comparison, keep the programme and listening conditions consistent enough that you know which part changed. A useful note describes an observation rather than simply awarding a winner.
Prepare a small rehearsal you can repeat
Choose a short piece of your real programme and add the ordinary actions around it. Read a few sentences, pause, look at your notes and use the keyboard if that belongs in the stream. Include a transition to another scene or application when relevant. Save the outline so a later test covers the same practical ground instead of becoming an entirely different performance.
Label each recording with the arrangement you used. Keep the exact microphone position, connection and meaningful setting changes in a note, along with the room conditions. Change one part when investigating a particular question. That makes the result easier to interpret and lets you return to an earlier arrangement if the new one is less useful. Avoid stacking several adjustments before listening to any of them.
Give the rehearsal a clear decision to answer. You might be checking whether you can read notes comfortably, whether the intended microphone is selected or whether a transition preserves the sound you expect. These are manageable questions. Once they are answered, you can consider a more detailed sound comparison without mixing it with basic routing and workflow problems.
- Before recording
- Name the intended microphone and application source.
- Arrange the desk as it will be used.
- Open the exact equipment guidance you need.
- During the rehearsal
- Use normal speech and ordinary movements.
- Include the programme’s main transitions.
- Note each deliberate change.
- After recording
- Listen to the saved result.
- Keep the useful arrangement and its notes together.
- Choose one unresolved question for the next check.
Check the application, then the saved result
The application deserves its own check even when the equipment is connected. OBS documents scene-specific audio capture and global audio selection and warns about capturing the same device through both paths. If you use OBS, identify which arrangement you have chosen and review the current instructions for your platform. Keep the names in your source list clear enough to recognise during a session.
Then listen to what you have actually saved. The OBS audio mixer guide recommends recording a session and listening back before going live. Use that rehearsal to check the parts of your programme that matter to you, including your voice alongside any other intended sound. A moving meter is a useful indication to inspect, but it is not the same task as listening to the finished recording.
Keep the final working note brief: the selected devices, the useful placement, the relevant controls and the checks you repeat before a session. Revisit it when a device, application or part of the room changes. The pre-stream listening guide turns that note into a practical routine. Your microphone choice is complete when you understand how it joins the stream you actually want to make.